Elephant
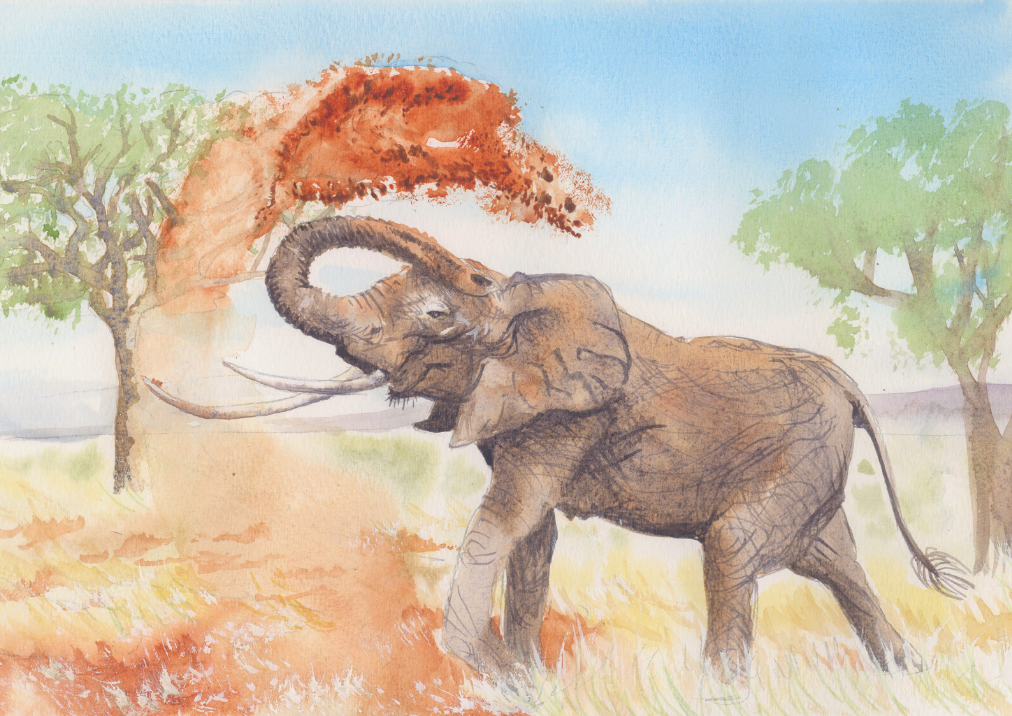
Elephant watercolour, practice study in charcoal and basic bone structure study.
Materials
For the preliminary studies you will need either charcoal or a HB pencil, putty rubber and sketch paper.
You will need for the painting- a sharp HB Pencil and putty rubber, watercolour paper 300 gsm, drawing board, masking tape, a selection of round brushes and a rigger brush, a set of watercolours and a heat tool or hairdryer. Before you start masking tape the watercolour paper all the way round to the drawing board. This will help the paper to dry back flat once you have finished the painting.
You will need for the painting- a sharp HB Pencil and putty rubber, watercolour paper 300 gsm, drawing board, masking tape, a selection of round brushes and a rigger brush, a set of watercolours and a heat tool or hairdryer. Before you start masking tape the watercolour paper all the way round to the drawing board. This will help the paper to dry back flat once you have finished the painting.
Colours
Cadmium Yellow, Raw Sienna, Burnt Sienna, Sap Green, Burnt Sienna mixed with Ultramarine Blue to make grey and Cobalt Blue / Cerulean Blue for the sky.
Techniques
For the watercolour painting, the techniques used most is 'wet in wet'. To create wet in wet, first wet an area with clean water, wait a moment or two to allow the water to soak into the surface then load your brush with a fairly watery solution of watercolour with plenty of pigment and apply colour where required.
Once the outline of the elephant is established, the wet in wet is applied to separate areas of the painting. First to the sky area, leaving a space for area where the dust is flying up above the head, then the land followed by the the body and head. Each area is dried with a heat tool / or hair dryer before moving on to the next area. Once each area has colour and is dry, using a thin brush such a rigger brush create details.
Once the outline of the elephant is established, the wet in wet is applied to separate areas of the painting. First to the sky area, leaving a space for area where the dust is flying up above the head, then the land followed by the the body and head. Each area is dried with a heat tool / or hair dryer before moving on to the next area. Once each area has colour and is dry, using a thin brush such a rigger brush create details.
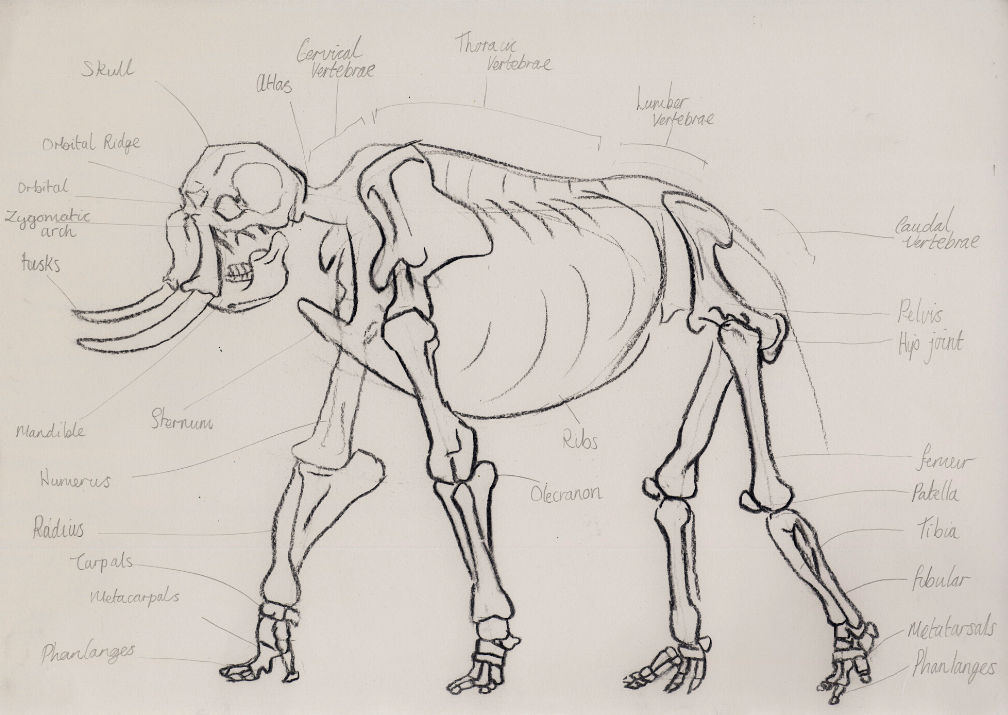
Bone Structure Study of the Elephant Hyperlasped Video
Before sketching the Elephant, it is best to have a understanding of the basic bone structure. Practice by following along with the video, pause and play between stages.
Bone Structure Study of the Elephant
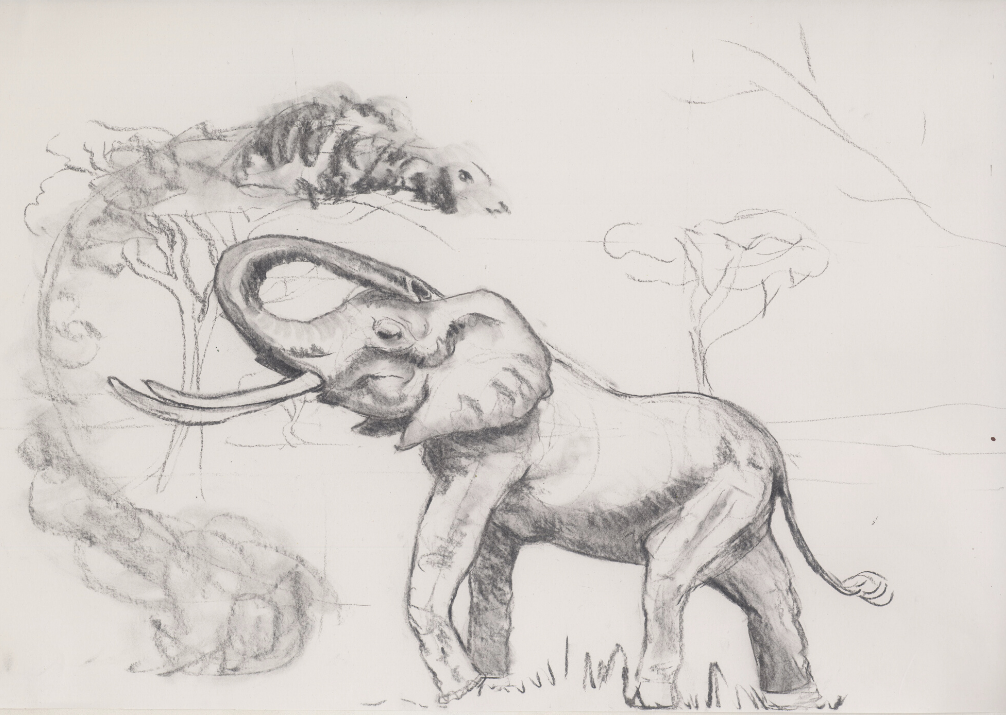
Study of the Elephant in Charcoal Hyperlasped Video.
Before creating any painting, it is best to make a study either in charcoal or pencil. Follow along with the video, pause and play between stages.
Study of the Elephant in Charcoal
Elephant with Watercolour Hyperlasped Video
Follow along with the Video, pause and play between stages.
Watercolour Painting of the Elephant
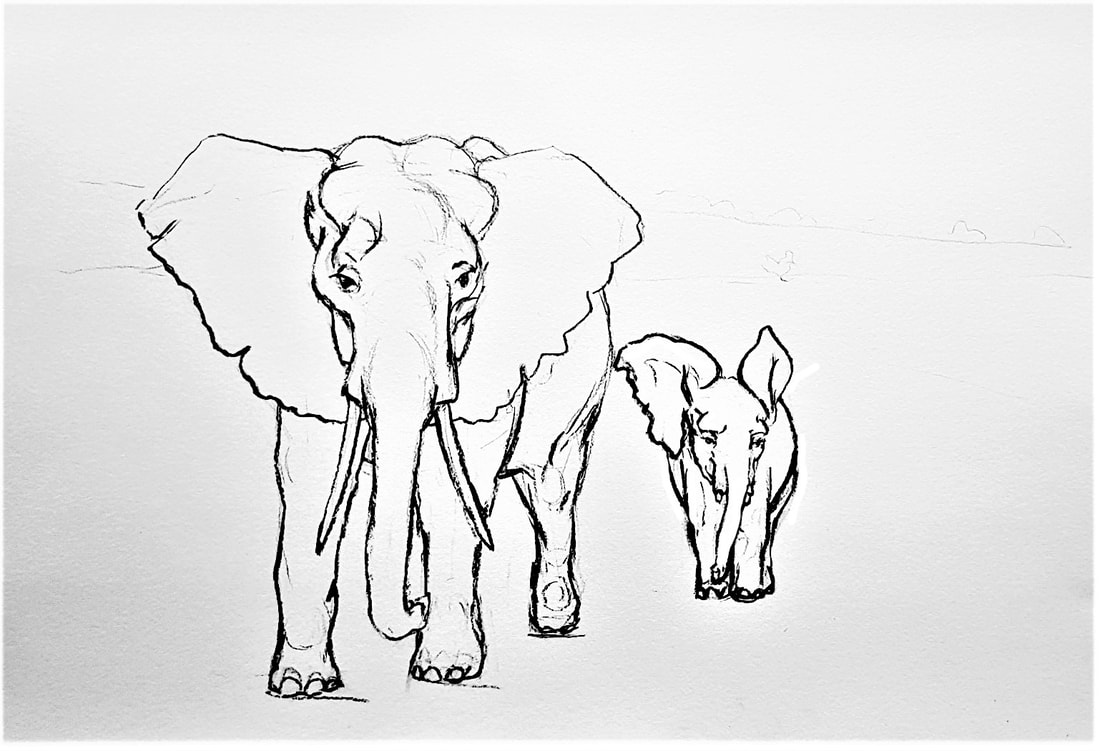
Elephant and Infant
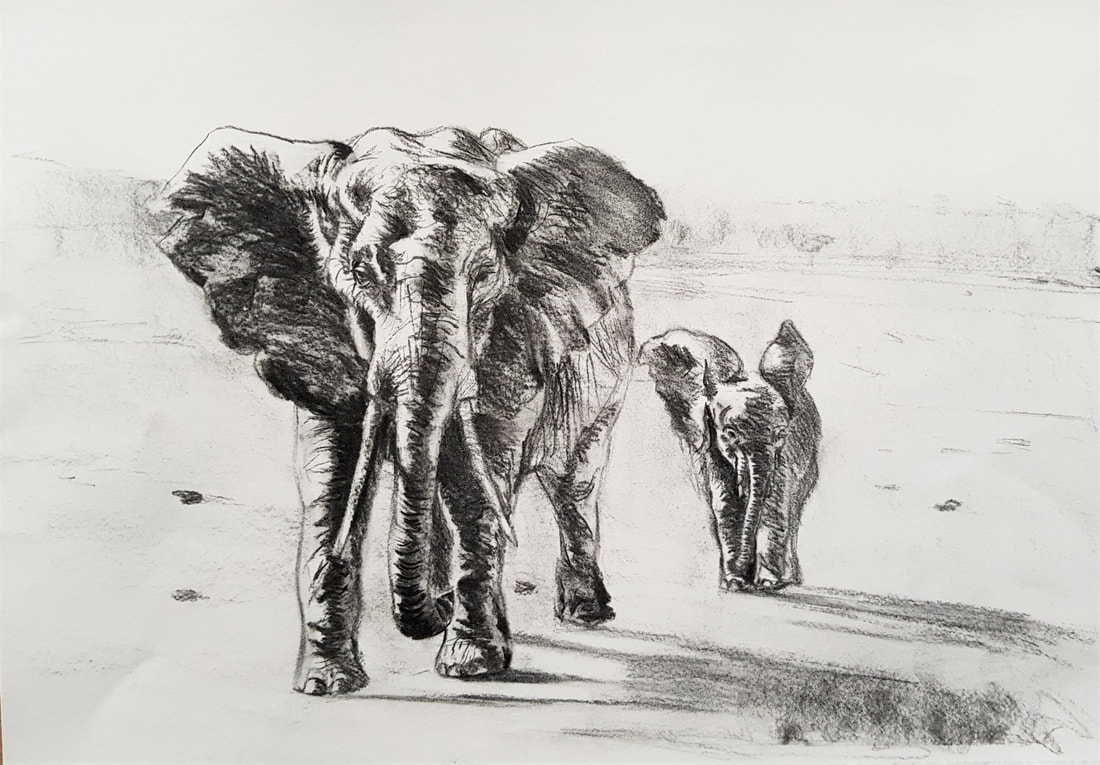
First of all I created a charcoal sketch from a photograph by fuzzel2502 who is a photographer on Pixabay you can find the original image by clicking here
Charcoal Sketch Hyperlapsed Video of Elephant and Infant
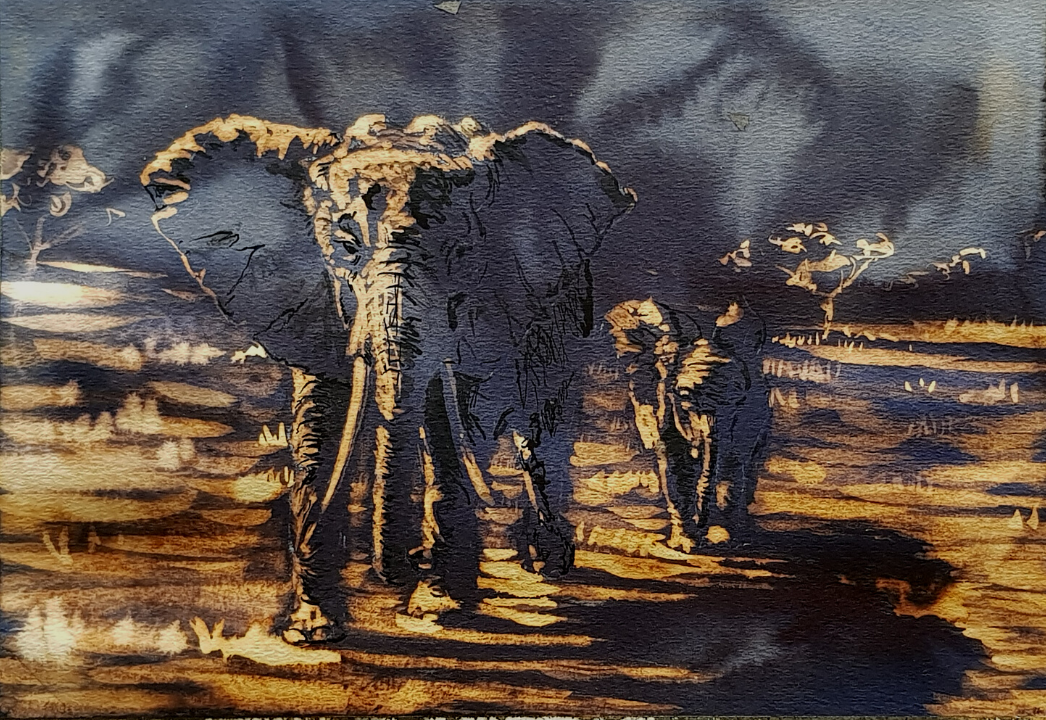
Elephant and Infant using Quink Ink, Indian Ink and Bleach
The materials are-
Watercolour paper, Drawing board, masking tape, a white pastel pencil and putty rubber.
Large round brush no.16, round no.6 and a rigger no.3 or round no.2/1
Quink ink, & Indian Ink and watered down bleach. 1 part bleach 1 part water ( and not much is needed)
Watercolour paper, Drawing board, masking tape, a white pastel pencil and putty rubber.
Large round brush no.16, round no.6 and a rigger no.3 or round no.2/1
Quink ink, & Indian Ink and watered down bleach. 1 part bleach 1 part water ( and not much is needed)
